skip to main |
skip to sidebar
People have been asking me for the pattern I used for my DS cases. It was my own pattern and I never really got around to writing it out until maybe a month ago. As I was figuring out what I did I decided I'd like to add a flap to the top as a closure to make sure the DS stayed in its lovely case. Sadly, I couldn't come up with one I loved so I'll just have to share the basic sock pattern for now. I don't think I'll have time to really develop a decent flap until after the holidays. Enjoy!
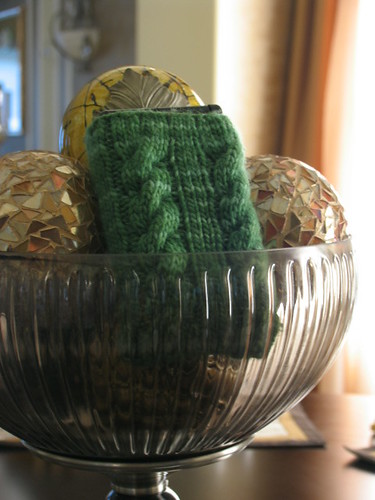
Cabled DS Lite Case
Yarn: Malabrigo worsted
Needles: 4 DPNs in US 8
Gauge: ... umm.... ^_^
Key:
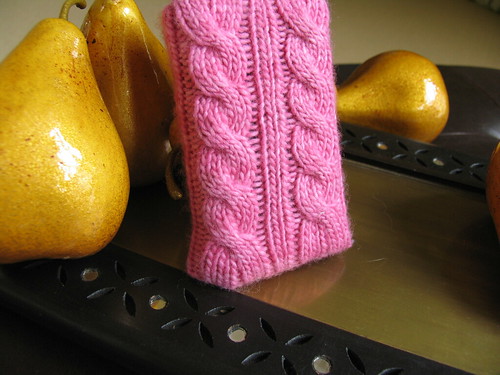
CF3: Slip next 3 sts onto cable needle purl wise and hold cable needle in front of work, K3, P1, K3 off the cable needle
Pattern Round
Needle 1: K2, P1, K3, P1, K3, P1
Needle 2: K2, P1, K3, P1, K3, P1, K2, P1
Needle 3: K3, P1, K3, P1, K2, P1, K3, P1, K3, P1
The condensed version: [K2, P1, (K3, P1)x2]x4
Cable Round
Needle 1: K2, P1, CF3, P1
Needle 2: K2, P1, CF3, P1, K2, P1
Needle 3: CF3, P1, K2, P1, CF3, P1
The condensed version: [K2, P1, (CF3, P1)x2]x4
The Pattern:
CO 44 stitches divide on to 3 DPNs
1st needle: 11 sts
2nd needle: 14 sts
3rd needle: 19 sts
The stitches are divided this way to allow for easier cabling. Feel free to divide the needles as you see appropriate.
Join into a circle and begin pattern:
Rounds 1 & 2: Pattern Round
Main cable pattern:
Rounds 3 - 8: Pattern Round
Round 9: Cable Round
Repeat rounds 3-9 four more times.
Round 38-43: Pattern Round
Round 44: Knit
Divide stitches evenly onto two needles and graft shut.
Weave in ends.
I find that if you turn your DS case completely inside out and pull out the grafted corners as far as they can go and then flip it right side out it'll leave you with nicely shaped corners.
A flap can be added by picking up stitches along the CO edge.
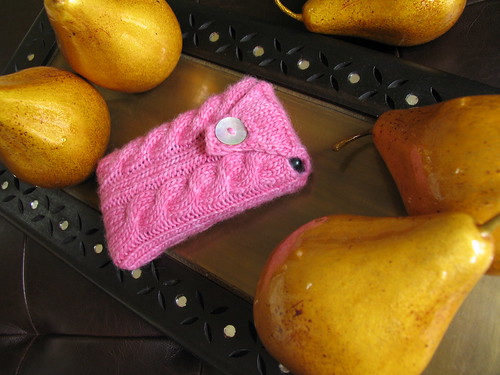
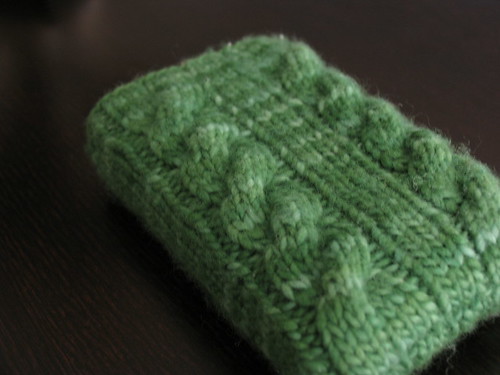
The original green DS case I made actually had an even 3x1 ribbing. I found that it was too loose so I tightened up some areas and that's how I came up with the crazy 2x1, (3x1)2 ribbing.
I've been finishing a lot of my knitting these past few days. Surprisingly.
After finishing the scrunchable scarf last week I picked up the odessa I had CO for a week or so ago. Hats go super fast and I finished it. Unfortunately, like my first odessa, it's STILL too small for me. =(
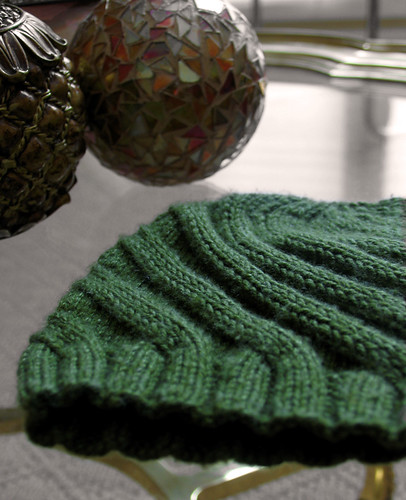
my perfect odessa!
I have a big head. x_X It has always been relatively large for my body. My cousin who used to babysit us when we were younger used to tell people who teased me that it was because I was very smart and had a big brain. =) I think, for the most part, I've grown into my head, but, when a hat says "one size fits all" it's usually wrong. For this green odessa I actually cast on an extra 10 stitches. Maybe, if I decide to knit it again, I'll add another 10... maybe even 20.
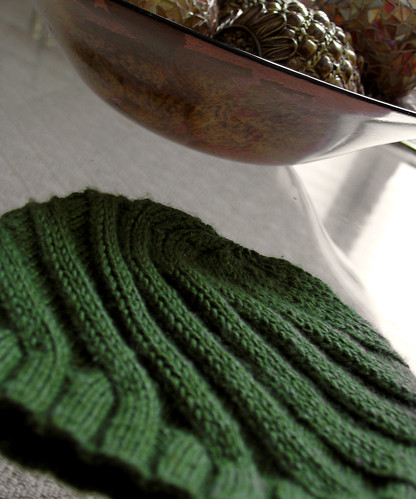
i love the greeeeen.
After finishing Odessa I began extra work on My So Called Scarf. I finished off the rest of the first skein and from there it was a breeze. I wasn't so sure about the colors when I first started knitting. Kevin said they looked like "old lady colors" but, I'm pretty fond of them. I'd definitely like to do it in a lighter colorway, but, I'm quite happy with how it turned out.
Binding off was a bit difficult. I tried a few different combinations because a simple k1, pass previous stitch over bind off made the edge flare out. I ended up doing a k2, pass previous stitch over and it really kept the scarf straight.

blue!
I think I want to block it. I'm not really sure exactly how to go about doing it though. It's a pretty long scarf and I've never really blocked anything before... but, we'll see.
The wool I used (Manos Del Uruguay) is surprisingly itchy. I've heard washing can soften everything, but, I'm not sure how to go about washing it either. My last washed object (scrunchable scarf) completely deflated and became flat--I would NOT want that to happen with this scarf.
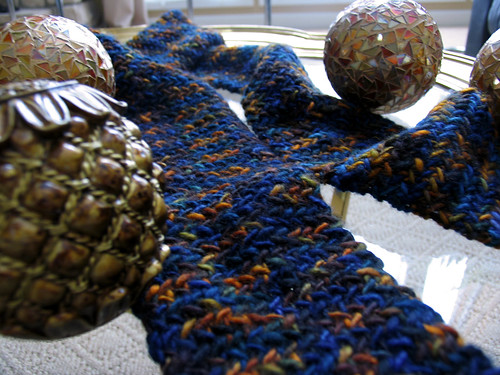
MSCS!
My cousin IM'd me the other day telling me that she read my blog and really liked my knitting. So, I offered to knit her something and she chose a hat. Specifically, a hat with ear flaps and a pom pom on the top.
A month or so ago I was looking at my little nephew's winter hat. It was a hat with ear flaps and a pom pom. The ear flaps were ribbed and the ribbing continued around for about 2 inches into the main body of the hat. I really liked the look of it so, unable to find a pattern, I altered a basic hat pattern and added ribbing.
I decided it would be best to do a prototype first, so I grabbed a skein of Malabrigo: Autumn Forest and knitted up my hat.

my own pattern!
I feel like it needs a lot of changes. To start off, it's really thin. I think I'll have to double strand the one I make for her.
Second, despite all my calculations for the ribbing, it actually just disappears into the hat. I think I need to incorporate a color change.
I thought the earflaps looked small as I was knitting them, so, I kept adding more rows... after trying it on the earflaps were on my shoulders. x_X Those will definitely be altered.
I didn't make a pom-pom for this prototype, but, I'm assuming it should be relatively easy.
I also wanted to attach i-cord to the earflaps so they could be tied, but, I couldn't figure out how to do it. x_X We'll have to make another attempt soon.
The coolest thing about the hat though, is that I wrote out the pattern and knit it all in one night! Knitting stockinette in the round is awesome and superfast. =)
Knit hard!
People have been asking for the moss rib stitch pattern for the scarf I made in mmMalabrigo. The scarf was actually shown to me by the not-so-LYS salesperson after I had asked her for recommendations for a pattern in the very varigated charrua colorway. It was actually knit in a darker color of Malabrigo but it still looked very cool. A tag was attached to the scarf so she went to the back and made a copy of the pattern.
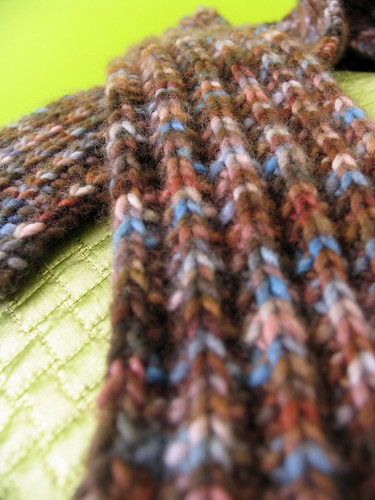
I don't really know who the pattern belongs to (although the tag has the name "Kathy" scribbled on the side), but, since it was shared with me for free I'll share it with you! =)
The original pattern called for 2 skeins, but, since I only purchased one I changed the CO number as follows:
moss rib stitch scarf in malabrigo worsted
#10 needles
CO 24 stitches
Row 1: sl1k, k2, *p1, k3* across row to last stich, p1
Row 2: sl1k, k1, *p1, k3* across row to last 2 stitches, p1, k1
Repeat rows 1 & 2 to desired length.
To Bind Off:
With right side facing (Row 1):
BO in pattern but in each "K3" section k2tog once to prevent ruffling of the edge.
So what I did was:
sl1k, k1, ppso (pass previous stitch over), k1, ppso, *p1, ppso, k2tog, ppso, k1, ppso* p1, ppso
If you decide to use 2 skeins the pattern says to CO 32 stitches.
Happy Knitting!


